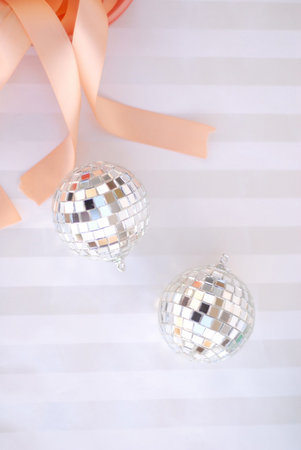
What more festive way to adorn your reception than with disco ball accents! They send a fun celebration message to your guests and will sparkle in the light. You can make tiny balls and attach to escort cards, use them on favor boxes, or even make large balls to hang from ceiling
These disco balls were inspired by a pricey and gorgeous ornament I found this winter and I’m thrilled to have found a cheap way to make them in mass! Invite your bridesmaids over for an evening of wine and gluing and bust out a large pile of these in no time.
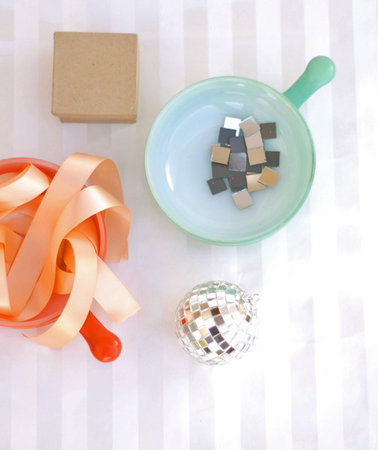
Materials
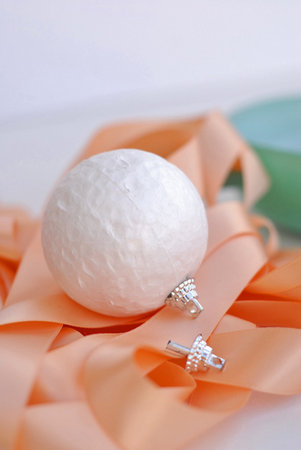
- Styrofoam balls in sizes of your choice,
- Clear drying tacky glue
- Ornament tops or metals loops for tying/hanging,
- Lots of 1/4, 1/2, or 1 inch craft mirrors (purchase them cheaply online in bulk or at your local craft store).
Four inch styrofoam balls work great for favor toppers or centerpieces adornments, while ten inch balls make for larger statement pieces.
 How To:
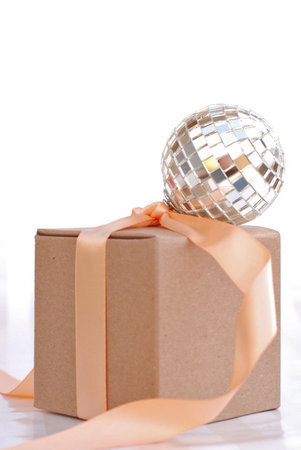
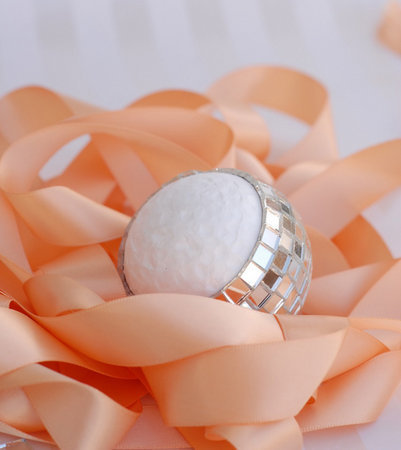
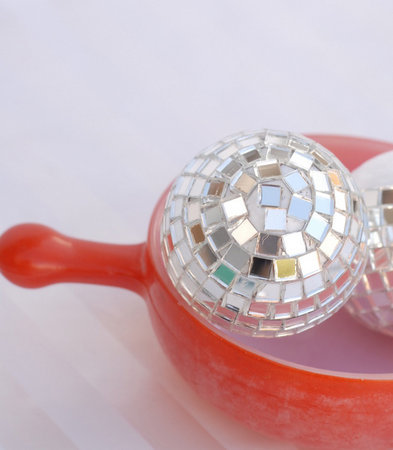
Stick your ornament top or metal loop right into the ball, lift it just a bit and begin gluing the mirrors around in a circle underneath. Once you have two lines put a small amount of glue on your ornament topper and stick it down.
The ends might never be perfect, don’t fret about that and just glue in a circle. You will see some styrofoam between the mirrors. The end effect is so dazzling that your guests will never notice this.
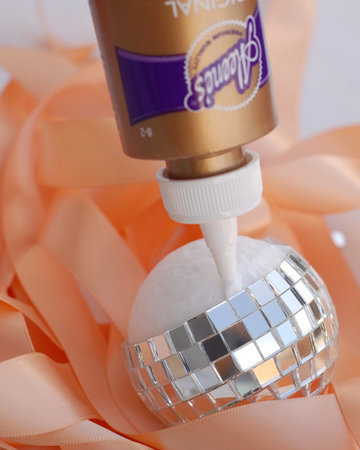
I am usually a hot glue lover, but for this project stick with tacky glue as the small pieces will really show any left over hot glue lines.
Allow time to dry.
Thread ribbon through the ornament topper and tie onto favor boxes for a festive and celebratory touch! Or, use them as escort cards, centerpiece adornments or hanging décor!


 This little one is green, white, and pink and hangs from a yellow stone and antique brass link bracelet.
 Probably my favorite because of the sky blue and baby pink colors. After the craft fair I went to last year I've nearly sold out of owls and this is one of my last owl necklaces I have. But it's always nice knowing there's someone else enjoying them.